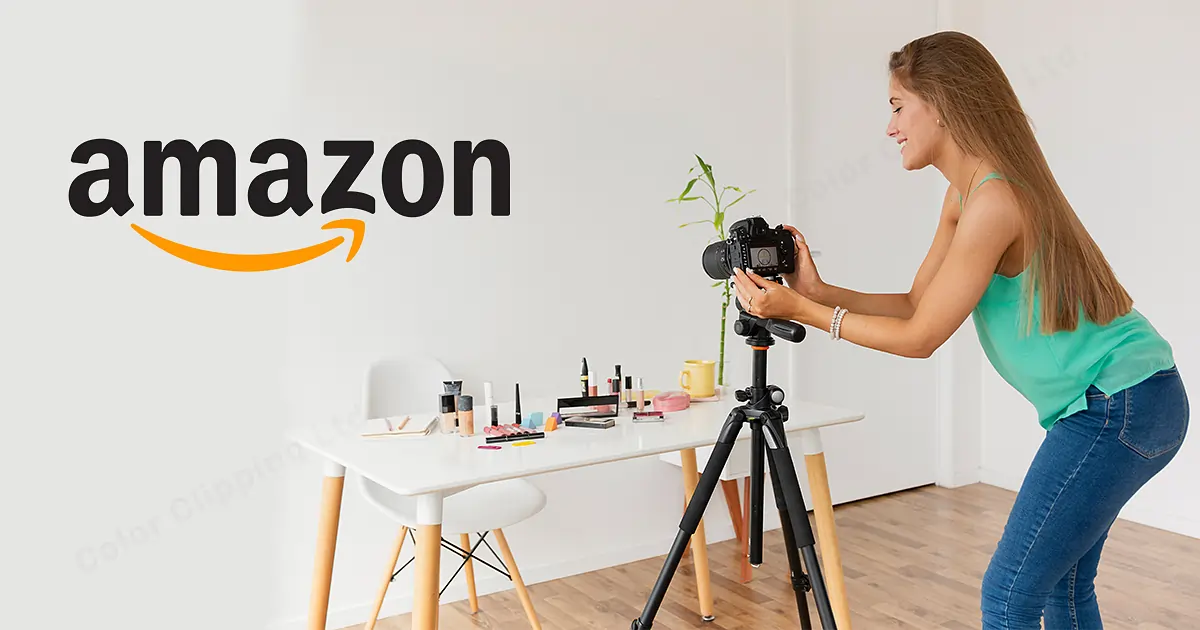
You’re bleeding money on product photography. The average FBA seller drops $800-1500 per SKU on professional shoots, then watches their ACoS climb because the images don’t convert. Meanwhile, sellers who master product photography on a budget are hitting 15-20% conversion rates with setups that cost less than your monthly PPC burn.
Here’s the math that should keep you up at night: A 2% bump in your main image CTR can drop your ACoS by 15-20%. That’s thousands saved monthly on a typical $10K ad spend. Yet most sellers treat product photography like a one-time expense instead of the conversion multiplier it actually is.
This guide breaks down exactly how to build a professional photo setup for under $200 that produces images indistinguishable from $400-per-SKU studio shots. No theory. No fluff. Just the specific equipment, settings, and techniques that work.
The Real Economics of DIY Product Photography
Let’s talk ROI before we talk technique. Because if the numbers don’t make sense, nothing else matters.
Professional Photography Cost Breakdown
Professional Amazon photography runs $300-600 per SKU for the standard 7-image package. Add lifestyle shots, and you’re looking at $800-1200. For a catalog of 20 SKUs, that’s $16,000-24,000 in photography costs alone.
But here’s what kills profitability: You need new shots every time you tweak your product, add a variant, or test different angles. Professional photographers charge $150-300 for reshoot sessions. Most sellers need 3-5 reshoots per year as they optimize listings based on data.
The hidden costs compound fast. Rush fees when you need images for a lightning deal. Travel expenses if your photographer isn’t local. Props and models for lifestyle shots. Storage fees while inventory sits waiting for photos. The typical seller spends 40% more than their initial photography quote by year’s end.
DIY Setup Investment Analysis
A professional-grade DIY setup costs $150-200 total. Not per SKU. Total. Here’s the exact breakdown:
- Light tent: $35-45
- LED panel lights (2): $60-80
- Backdrop materials: $20-30
- Basic tripod: $25-35
- Reflectors/diffusers: $15-25
Your smartphone camera is already better than the DSLRs professionals used five years ago. The iPhone 13 Pro shoots 48-megapixel RAW files. The Samsung S22 Ultra has a 108-megapixel sensor. Both exceed Amazon’s image requirements by 500%.
The payback period on DIY equipment is one SKU. After that, every product you shoot is pure margin. Reshoot as many times as you want. Test different angles without burning cash. Update images based on customer feedback without scheduling appointments.
Time Investment vs. Outsourcing
The average seller spends 12-15 hours coordinating professional photography per SKU. Finding photographers, negotiating rates, shipping products, reviewing proofs, requesting revisions, downloading files. That’s before you even upload to Seller Central.
DIY shooting takes 2-3 hours per SKU once you nail the process. First few products might take 4-5 hours as you learn. But by product ten, you’re cranking out full 7-image sets in under two hours. Including editing.
Here’s what matters: You control the timeline. Need images for tomorrow’s lightning deal? Shoot tonight. Want to test a new main image angle? Twenty minutes and you’re split-testing. Professional photographers book 2-3 weeks out. Markets move faster than that.
Essential Equipment for Under $200
Forget the gear porn. You need five things to shoot Amazon-compliant images. Everything else is marketing.
Core Photography Equipment
Light tent or shooting box ($35-45): Get a 24″ x 24″ minimum for most products. 32″ x 32″ if you sell larger items. The Neewer shooting tent on Amazon runs $38 and includes four backdrop colors. Don’t overthink this. The tent diffuses light and eliminates shadows. That’s all it needs to do.
LED panel lights ($60-80 for pair): You need two panels minimum, 5500K color temperature, 2000+ lumens each. The Viltrox L116T panels run $35 each and include diffusion filters. Position at 45-degree angles to your product. Equal distance, equal height. This setup eliminates 90% of shadow issues.
Seamless backdrop material ($20-30): White poster board works for small products. For larger items, get a roll of seamless paper from Savage or Superior. 53″ wide, 12 yards long, pure white. Costs $28 and lasts months. Create that infinite white background Amazon loves without post-processing.
Skip the expensive camera. Your smartphone shoots better than you think. But you need stability.
Smartphone Setup Specifics
Tripod with smartphone mount ($25-35): The AmazonBasics 60-inch tripod includes a phone adapter and costs $28. Extends to eye level, collapses for storage. The phone mount is the critical piece. Spring-loaded, adjustable, fits any phone with case.
Remote shutter or timer: Use your phone’s timer function or get a $10 Bluetooth remote. Touching the phone creates shake, even on a tripod. Set 2-second timer minimum. For detail shots, use 5-second timer to let vibrations settle.
Manual camera app: Your default camera app sucks for product photography. Download Camera+ (iOS) or Open Camera (Android). Both free. You need manual control over ISO, shutter speed, and focus point. Auto mode creates inconsistent exposures across your image set.
Free Tools That Save Thousands
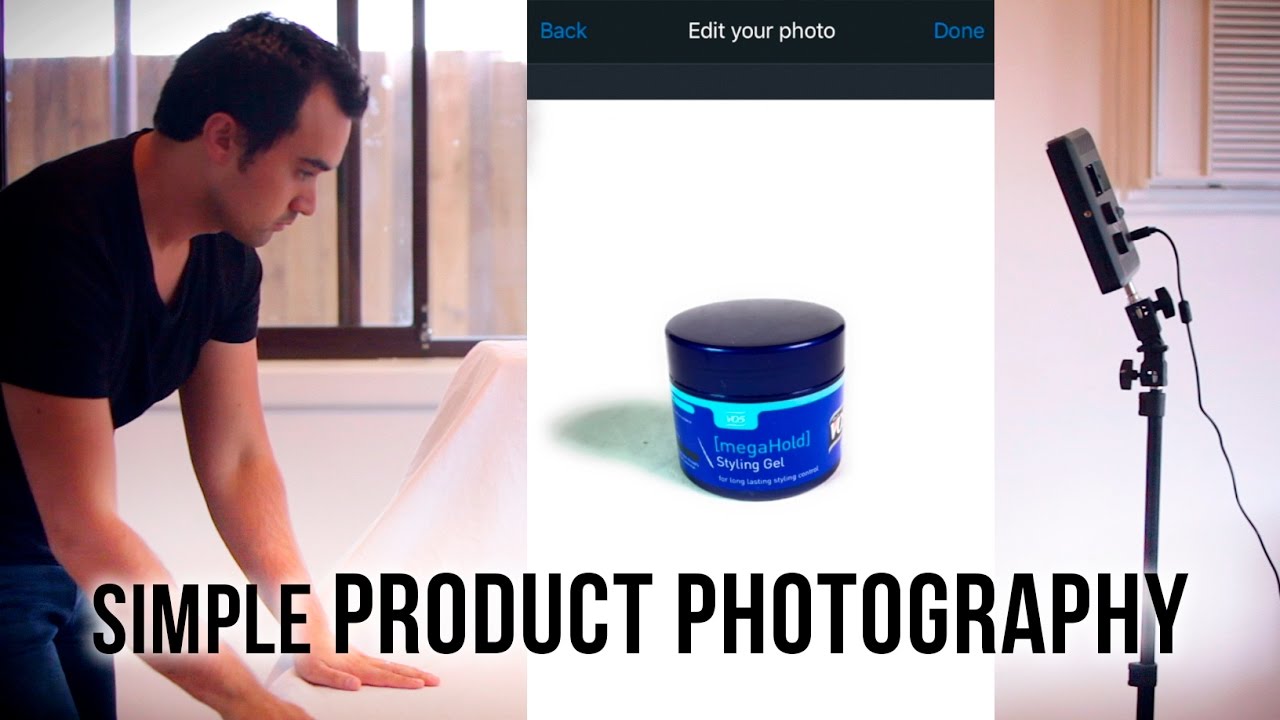
Photoshop Express or Snapseed: Both free, both handle 90% of edits you need. Crop to 1:1 aspect ratio. Adjust exposure and contrast. Remove dust spots. Export at 72 DPI, 1500×1500 pixels minimum for Amazon.
Remove.bg: Automated background removal that actually works. Free tier gives you one image per month at full resolution, more at lower res. Perfect for creating transparent PNGs for A+ content. Saves 20 minutes per image versus manual masking.
TinyPNG: Compress images without quality loss. Amazon limits file sizes to 10MB, but smaller loads faster. Faster load times improve mobile conversion rates. Free, unlimited use, cuts file sizes by 70% with zero visible difference.
Setting Up Your DIY Photo Studio
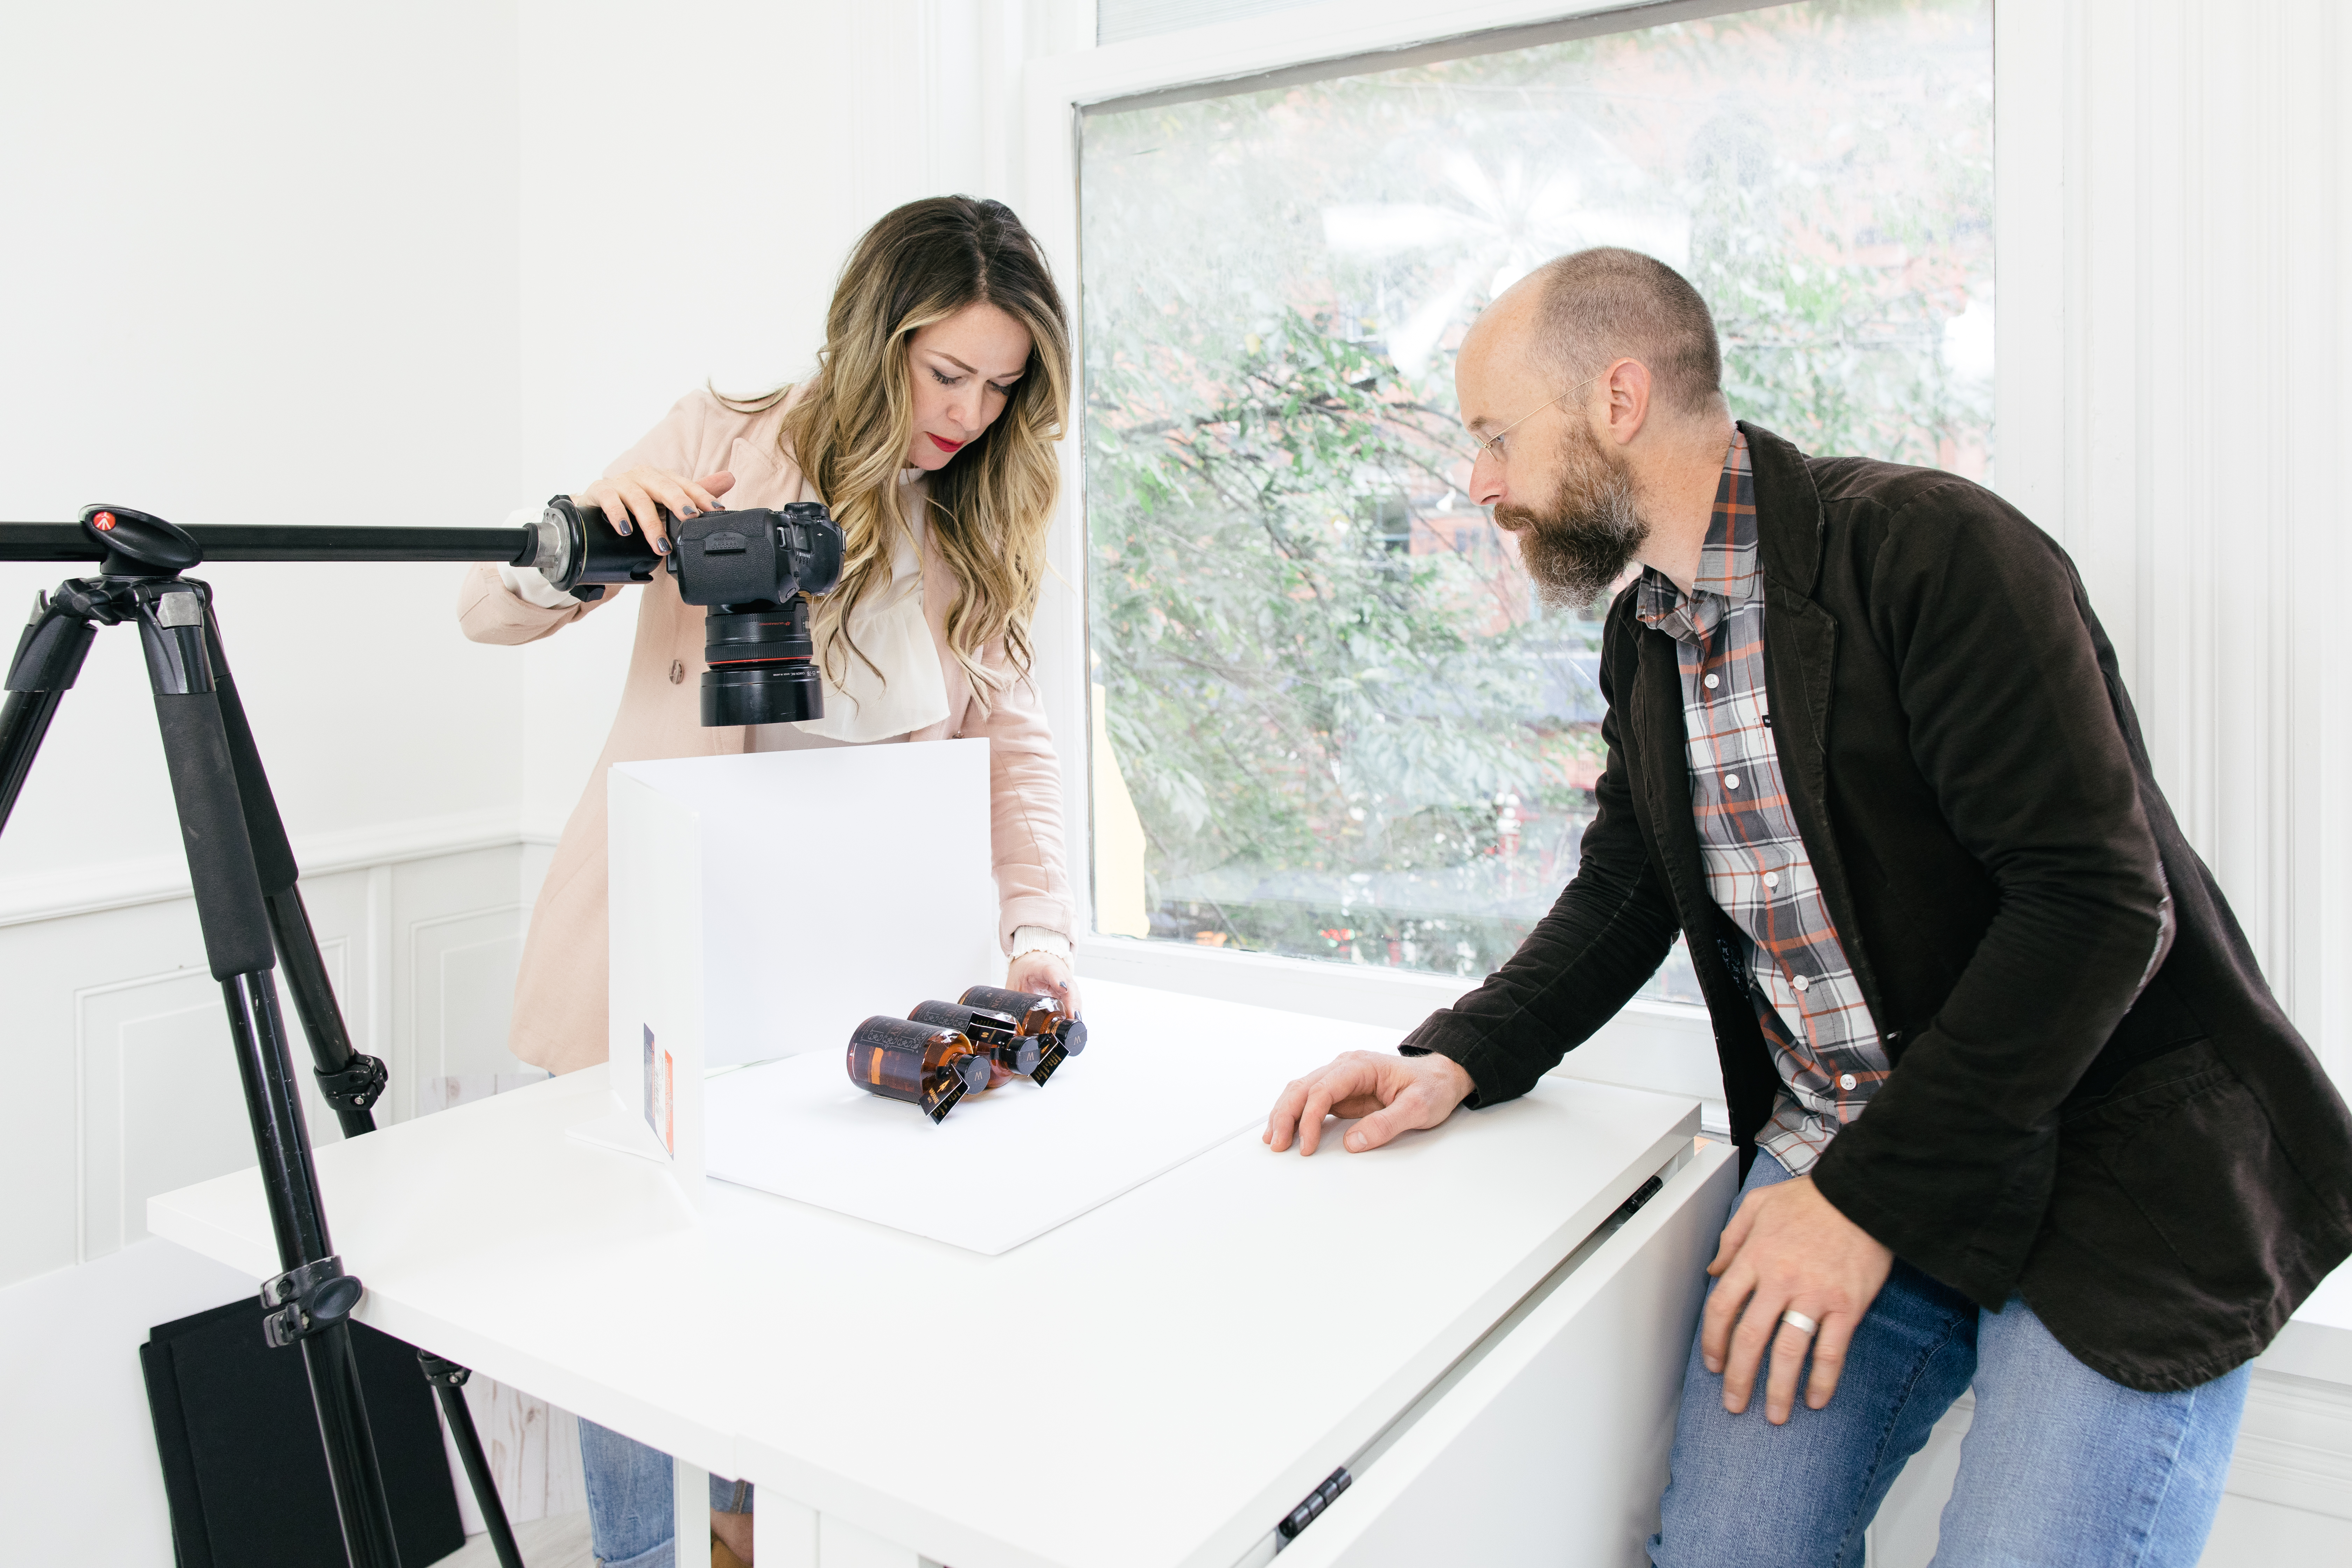
Location matters more than equipment. You need consistent conditions, not perfect ones.
Choosing the Right Space
Find a room with minimal natural light. Basement, interior bathroom, walk-in closet. Natural light changes throughout the day, creating inconsistent exposures. You want total control over lighting conditions.
You need 6×6 feet minimum. 8×8 feet is better. The extra space lets you move lights without cramming. Set up against a wall to minimize backdrop curve. Leave 3 feet between backdrop and product for clean separation.
Temperature matters for certain products. Chocolate, cosmetics, and candles need cool environments. Electronics need low humidity. Most products shoot fine at room temperature, but know your limitations. A melted lipstick doesn’t sell.
Professional Lighting on Amateur Budget
Two-point lighting solves 95% of amateur photography problems. Here’s the exact setup:
Light 1 (Key light): Position 45 degrees to the right of your product, 2 feet away, 1 foot above product height. This creates primary illumination and subtle shadows for dimension.
Light 2 (Fill light): Position 45 degrees to the left, 3 feet away, same height as product. Set to 70% intensity of key light. This fills shadows without eliminating them completely.
For reflective products (jewelry, electronics), add a third element: white foam core positioned opposite your key light. Bounces light back to eliminate harsh reflections. Costs $5 at any craft store.
Color temperature consistency beats brightness every time. All lights must be same temperature (5500K ideal). Mixed temperatures create color casts that destroy product accuracy. Customers return products that don’t match photos.
Camera Settings That Matter
Ignore 90% of photography advice. For Amazon product shots, only four settings matter:
ISO: Keep at 100-200 maximum. Higher creates noise that looks amateur. Better to add more light than boost ISO.
Aperture: Not adjustable on most phones, but if you have control, shoot at f/5.6-f/8. Keeps entire product in focus without being too sharp.
Shutter speed: 1/60 second minimum with tripod. Faster if hand-holding (don’t). Slower creates motion blur from tiny vibrations.
Focus: Tap to focus on product center. Lock focus before shooting. Auto-focus hunts between shots, creating inconsistent sharpness across image set.
White balance should be set to daylight (5500K) to match your LED panels. Auto white balance shifts between shots. Consistency matters more than perfect accuracy.
Shooting Techniques for Maximum Conversion
Amazon’s algorithm rewards specific image types. Shoot for the algorithm, not artistic merit.
Main Image Optimization
Your main image drives 70% of click-through rate. Mess this up and nothing else matters. Amazon requires pure white background (RGB 255,255,255), but that’s just the start.
Fill 85% of frame with product. More creates claustrophobia. Less wastes mobile real estate. Measure this. Screenshot competitor listings, overlay grid, match their fill percentage.
Shoot straight-on for most products. Three-quarter angle only if it shows critical features. Kitchen products need to show capacity. Electronics need to show ports. Beauty products need to show packaging design. Default to straight-on unless angle adds critical information.
Natural shadows beat floating products. Position product 6 inches from backdrop. Light creates soft shadow underneath. This grounds the product, makes it feel real. Floating products look like bad Photoshop jobs.
Secondary Image Strategy
Images 2-7 tell your product story. Each needs specific purpose:
Image 2 – Lifestyle context: Show product in use or natural environment. Kitchen gadgets on counter with ingredients. Electronics on desk with peripherals. This isn’t about pretty. It’s about helping customers visualize ownership.
Image 3 – Size reference: Include common object for scale. Hand for small items. Person for large items. Coins, credit cards, or phones for precise scale. Customers can’t judge size from main image alone.
Image 4 – Feature callouts: Close-up of unique features with text overlay. Keep text under 20% of image area to stay Amazon-compliant. Use arrows, not descriptions. Show, don’t tell.
Image 5 – What’s included: Flat lay of everything in package. Every cable, manual, accessory. Spread items with space between. Customers hate surprises. Show exactly what arrives.
Technical Specifications for Upload
Amazon accepts JPEG, PNG, GIF, and TIFF. Use JPEG for photos, PNG for graphics with text. Specific requirements that matter:
- Minimum dimensions: 1000×1000 pixels (1500×1500 recommended for zoom)
- Maximum file size: 10MB per image
- Color space: sRGB only (not Adobe RGB)
- Aspect ratio: 1:1 for main image, any ratio for secondary
Name files strategically. Amazon preserves filenames in backend. Use this format: ASIN_ImageNumber_Feature.jpg. Example: B08XYZ123_02_Lifestyle.jpg. Makes finding images later much easier.
Post-Processing Without Photoshop
Professional editing software is overkill for Amazon images. Free mobile apps handle everything you need.
Essential Edits in 5 Minutes
Step 1 – Crop and straighten: Open in Snapseed or Photoshop Express. Use grid overlay to ensure product is centered and level. Crop to 1:1 for main image. Leave 10% padding on all sides.
Step 2 – Exposure adjustment: Brighten until background approaches pure white. Usually +0.5 to +1.0 exposure. Don’t blow out product highlights. Use selective adjustment if needed.
Step 3 – Increase contrast: Add 10-20 points of contrast. This separates product from background, adds depth. Too much creates harsh edges. Find the sweet spot where product pops without looking artificial.
Step 4 – Spot removal: Zoom to 100%. Remove dust, fingerprints, minor scratches. Don’t overdo it. Customers expect minor imperfections. Overly perfect products look fake.
Step 5 – Sharpening: Apply subtle sharpening to entire image. 20-30% strength maximum. Oversharpening creates halos around edges. Mobile screens hide sharpening artifacts that desktop monitors reveal.
Background Perfection Techniques
Pure white backgrounds aren’t optional. Amazon’s algorithm checks. Here’s how to nail it every time:
Gradual selection method: Use magic wand or quick selection tool. Select background in stages, not all at once. Refine edges with 1-2 pixel feather. Fill with pure white (255,255,255).
Levels adjustment: Faster than selection for near-white backgrounds. Drag white point slider left until background hits 255. Watch histogram to avoid clipping product highlights.
Automated tools: Remove.bg or Photoshop’s Select Subject. Works 80% of time for simple products. Always check edges at 100% zoom. Hair, fur, and transparent materials need manual cleanup.
Color Accuracy Without Calibration
Monitor calibration is photography nerd territory. You need color accuracy, not perfection. Here’s the shortcut:
Include a gray card in one reference shot. Any neutral gray object works – back of a business card, gray shirt, concrete. Use this to set white balance across all images. Remove before final export.
Check colors on multiple devices. Your phone, tablet, laptop. If product looks consistent across all three, you’re close enough. Customers view on uncalibrated screens anyway.
For color-critical products (cosmetics, fashion), order your own product. Compare physical item to edited photos on same device customers use. Adjust until match is close. Perfect accuracy is impossible. Close enough prevents returns.
Scaling Your DIY Operation

One product takes 3 hours. Ten products shouldn’t take 30. Here’s how to scale efficiently.
Batch Processing Workflows
Shoot all products in one session: Setup time is 80% of effort. Once lights are positioned, shoot everything. Change only product, not setup. Mark floor with tape for consistent positioning.
Create preset positions: Measure and document exact light placements. Distance from center, height from table, angle of beam. Recreate identical setup in minutes, not hours.
Template your editing: Save adjustment settings after perfecting first image. Apply to entire batch, then tweak individually. Cuts editing time by 70%.
Standardize file naming: Use batch renaming tools. IrfanView (Windows) or Name Mangler (Mac) rename hundreds of files in seconds. Consistent naming prevents upload errors.
When to Shoot vs. Outsource
DIY isn’t always the answer. Know when to outsource:
Shoot yourself: Simple products under 12 inches. Solid colors. Non-reflective surfaces. Standard packaging. Items you can lift alone. Products needing frequent reshoots.
Consider outsourcing: Highly reflective surfaces (mirrors, chrome). Large products requiring multiple people. Complex assembly showing functionality. Lifestyle shots with models. One-time hero SKUs.
The hybrid approach works best. Shoot daily maintenance photos yourself. Outsource annual catalog updates. This cuts photography spend by 80% while maintaining professional standards where it matters.
Building Systems for Consistency
Consistency beats perfection in product photography on a budget. Create these systems:
Setup checklist: Document every step. Light positions, camera settings, editing adjustments. Follow religiously. Creativity kills consistency.
Product prep protocol: Clean with microfiber cloth. Remove stickers and tags. Iron fabric items. Charge electronic items. Prep prevents reshoots.
Quality control process: View all images at 100% zoom. Check edges, shadows, color accuracy. Upload to test listing before going live. Catch errors before customers do.
File organization system: Create folder structure: Date > Product > Raw/Edited/Final. Back up to cloud immediately. Lost images mean lost time and money.
Common Mistakes That Tank Conversions
Most sellers make the same five mistakes. Fix these and you’re ahead of 90% of competitors.
Lighting Errors to Avoid
Uneven lighting: Creates dark sides that hide product details. Always use two lights minimum. Single light source looks amateur, no matter how bright.
Mixed color temperatures: Combining daylight and tungsten creates unfixable color casts. All lights must match. Replace mismatched bulbs before shooting.
Harsh shadows: Direct light without diffusion creates hard edges. Always shoot through diffusion material. Light tent, white sheet, or parchment paper all work.
Overexposure: Blowing out highlights loses product detail. Better to shoot slightly dark and brighten in editing. You can’t recover blown highlights.
Composition Mistakes
Inconsistent angles: Switching between straight-on and angled shots confuses customers. Pick one angle per listing and stick with it.
Too much empty space: Wasting frame real estate reduces mobile visibility. Fill 80-85% of frame consistently.
Cluttered backgrounds: Any non-white element distracts from product. Remove everything except product and intentional props.
Poor prop selection: Props should enhance understanding, not decorate. Every element needs purpose. Pretty but purposeless props reduce conversion.
Technical Issues
Motion blur: Even tiny movements create softness. Use timer, stable surface, and avoid touching camera during exposure.
Incorrect file format: TIFF files are huge and slow. GIF limits colors. Stick with JPEG for photos, PNG for graphics.
Over-compression: Saving at low quality creates artifacts. Export at 80-90% JPEG quality. File size matters less than quality.
Wrong aspect ratio: Non-square main images get cropped automatically. Always shoot and export 1:1 for main image.
Related Articles
- DIY Amazon Product Photography Setup: Build a $200 Studio That Gets Results
- Product Photography Lighting for Amazon: Step-by-Step Setup Guide for Professional Results
- Amazon Product Photography Pricing Breakdown: What Actually Drives ROI in 2024
Frequently Asked Questions
What smartphone cameras work best for product photography on a budget?
Any smartphone from 2019 or newer shoots Amazon-compliant images. iPhone 11 or newer and Samsung S20 or newer produce exceptional results with proper lighting. The camera matters less than your lighting setup and stability. A 5-year-old phone with good lighting beats a brand new phone with poor lighting every time.
How many lights do I really need for DIY product photography?
Two LED panels handle 95% of products. Each should be 2000+ lumens at 5500K color temperature. Add a third light or reflector only for highly reflective products like jewelry or electronics with screens. More lights create more problems than they solve for beginners.
Should I shoot RAW or JPEG for Amazon listings?
Shoot JPEG unless you’re comfortable with RAW processing. Amazon requires JPEG uploads anyway, and mobile editing apps handle JPEG files better. RAW gives more editing flexibility but adds complexity and time that most sellers don’t need. Focus on getting the shot right in-camera instead.
How do I photograph reflective products without showing myself?
Position lights and camera outside the angle of reflection. Shoot from slightly above or to the side rather than straight-on. Use a light tent to create uniform white reflections instead of distinct light sources. For extreme cases, take multiple shots and composite out reflections in editing.
What’s the minimum investment for product photography on a budget that actually works?
$150 gets you a complete setup: light tent ($40), two LED panels ($70), backdrop material ($20), and basic tripod ($20). This produces professional results for 90% of products. Spend more only after mastering the basics and identifying specific limitations in your current setup.
Leave a Reply