Your product photography budget is killing your margins. I see sellers dropping $2,000+ on photo shoots for products that haven’t even proven market fit yet. Meanwhile, smart sellers are producing professional-grade images for under $200 using methods I’m about to show you.
Last reviewed:
The math is simple. Average Amazon product photography runs $400-800 per SKU. If you’re testing 5 products this quarter, that’s $2,000-4,000 gone before you’ve sold a single unit. But here’s what the photographers don’t want you to know: with the right setup and process, you can shoot listing images that convert just as well for 90% less.
For more on this, see our shoot cosmetics product guide.
I’ve helped over 200 FBA sellers cut their photography costs while maintaining conversion rates above 15%. This guide walks through the exact equipment, lighting setups, and shooting techniques that work. No fluff. Just what actually moves the needle on your listing performance.
The Real Cost of Bad Product Photography (With Actual Numbers)
How Much Money You’re Leaving on the Table
Let’s do the math on what crappy images actually cost you. Take a product with 1,000 monthly sessions. Industry average main image CTR sits around 2.5% according to Baymard Institute’s ecommerce research. That’s 25 clicks. But sellers with optimized main images hit 4-5% CTR consistently.
Double your CTR from 2.5% to 5%, and you get 50 clicks instead of 25. At a 10% conversion rate and $30 average order value, that’s an extra $375 per month. Per SKU. Now multiply that across your catalog.
Bad images don’t just hurt organic performance. Your PPC costs explode too. Lower CTR means higher CPC. Lower conversion means higher ACoS. I’ve seen sellers cut their ACoS by 30% just by fixing their main image.
Why Professional Photography Isn’t Always the Answer
Professional photographers charge $400-800 per SKU because they can. They know most sellers don’t understand what makes a good listing image. So they oversell you on complex setups, multiple angles you don’t need, and “lifestyle” shots that don’t convert.
Here’s the truth: Amazon shoppers spend 2 seconds on your main image. They’re not admiring your artistic composition. They want to see the product clearly, understand what it is instantly, and know if it solves their problem. That’s it.
Professional photography makes sense for established products doing $50k+ per month. For everyone else, especially sellers testing new products or operating on tight margins, DIY is the only approach that makes financial sense.
When DIY Makes Sense vs When to Hire a Pro
Use DIY product photography on a budget when:
For more on this, see our product photography budget guide.
- Testing new products (under $10k monthly revenue)
- Selling simple products (no complex features to showcase)
- Operating with less than 20% profit margins
- Needing quick iteration on image testing
- Launching variations of existing products
Hire a professional when:
- Your hero SKU does $50k+ monthly
- Complex products requiring multiple demonstration angles
- Luxury positioning where image quality signals brand value
- You’ve maxed out DIY quality and need that final 5% improvement
Essential Equipment That Actually Matters (Under $200 Total)
The Only Camera Equipment You Need
Forget the DSLR. Your smartphone camera is good enough if it’s from the last 3 years. iPhone 11 or newer, Samsung S20 or newer, Google Pixel 5 or newer. These phones shoot 12+ megapixels, which is more than enough for Amazon’s requirements.
If you must buy a camera, get a used Canon T6 or Nikon D3500 for under $300. Pair it with a 50mm f/1.8 lens (another $125 used). That’s it. No zoom lenses, no fancy filters, no expensive glass.
Essential camera gear:
- Tripod: $30-50 for a basic aluminum one. Stability matters more than features.
- Remote shutter or timer: Use your phone’s built-in timer. Zero cost.
- Memory cards: One 32GB card is plenty. $10.
Lighting Setup That Doesn’t Suck
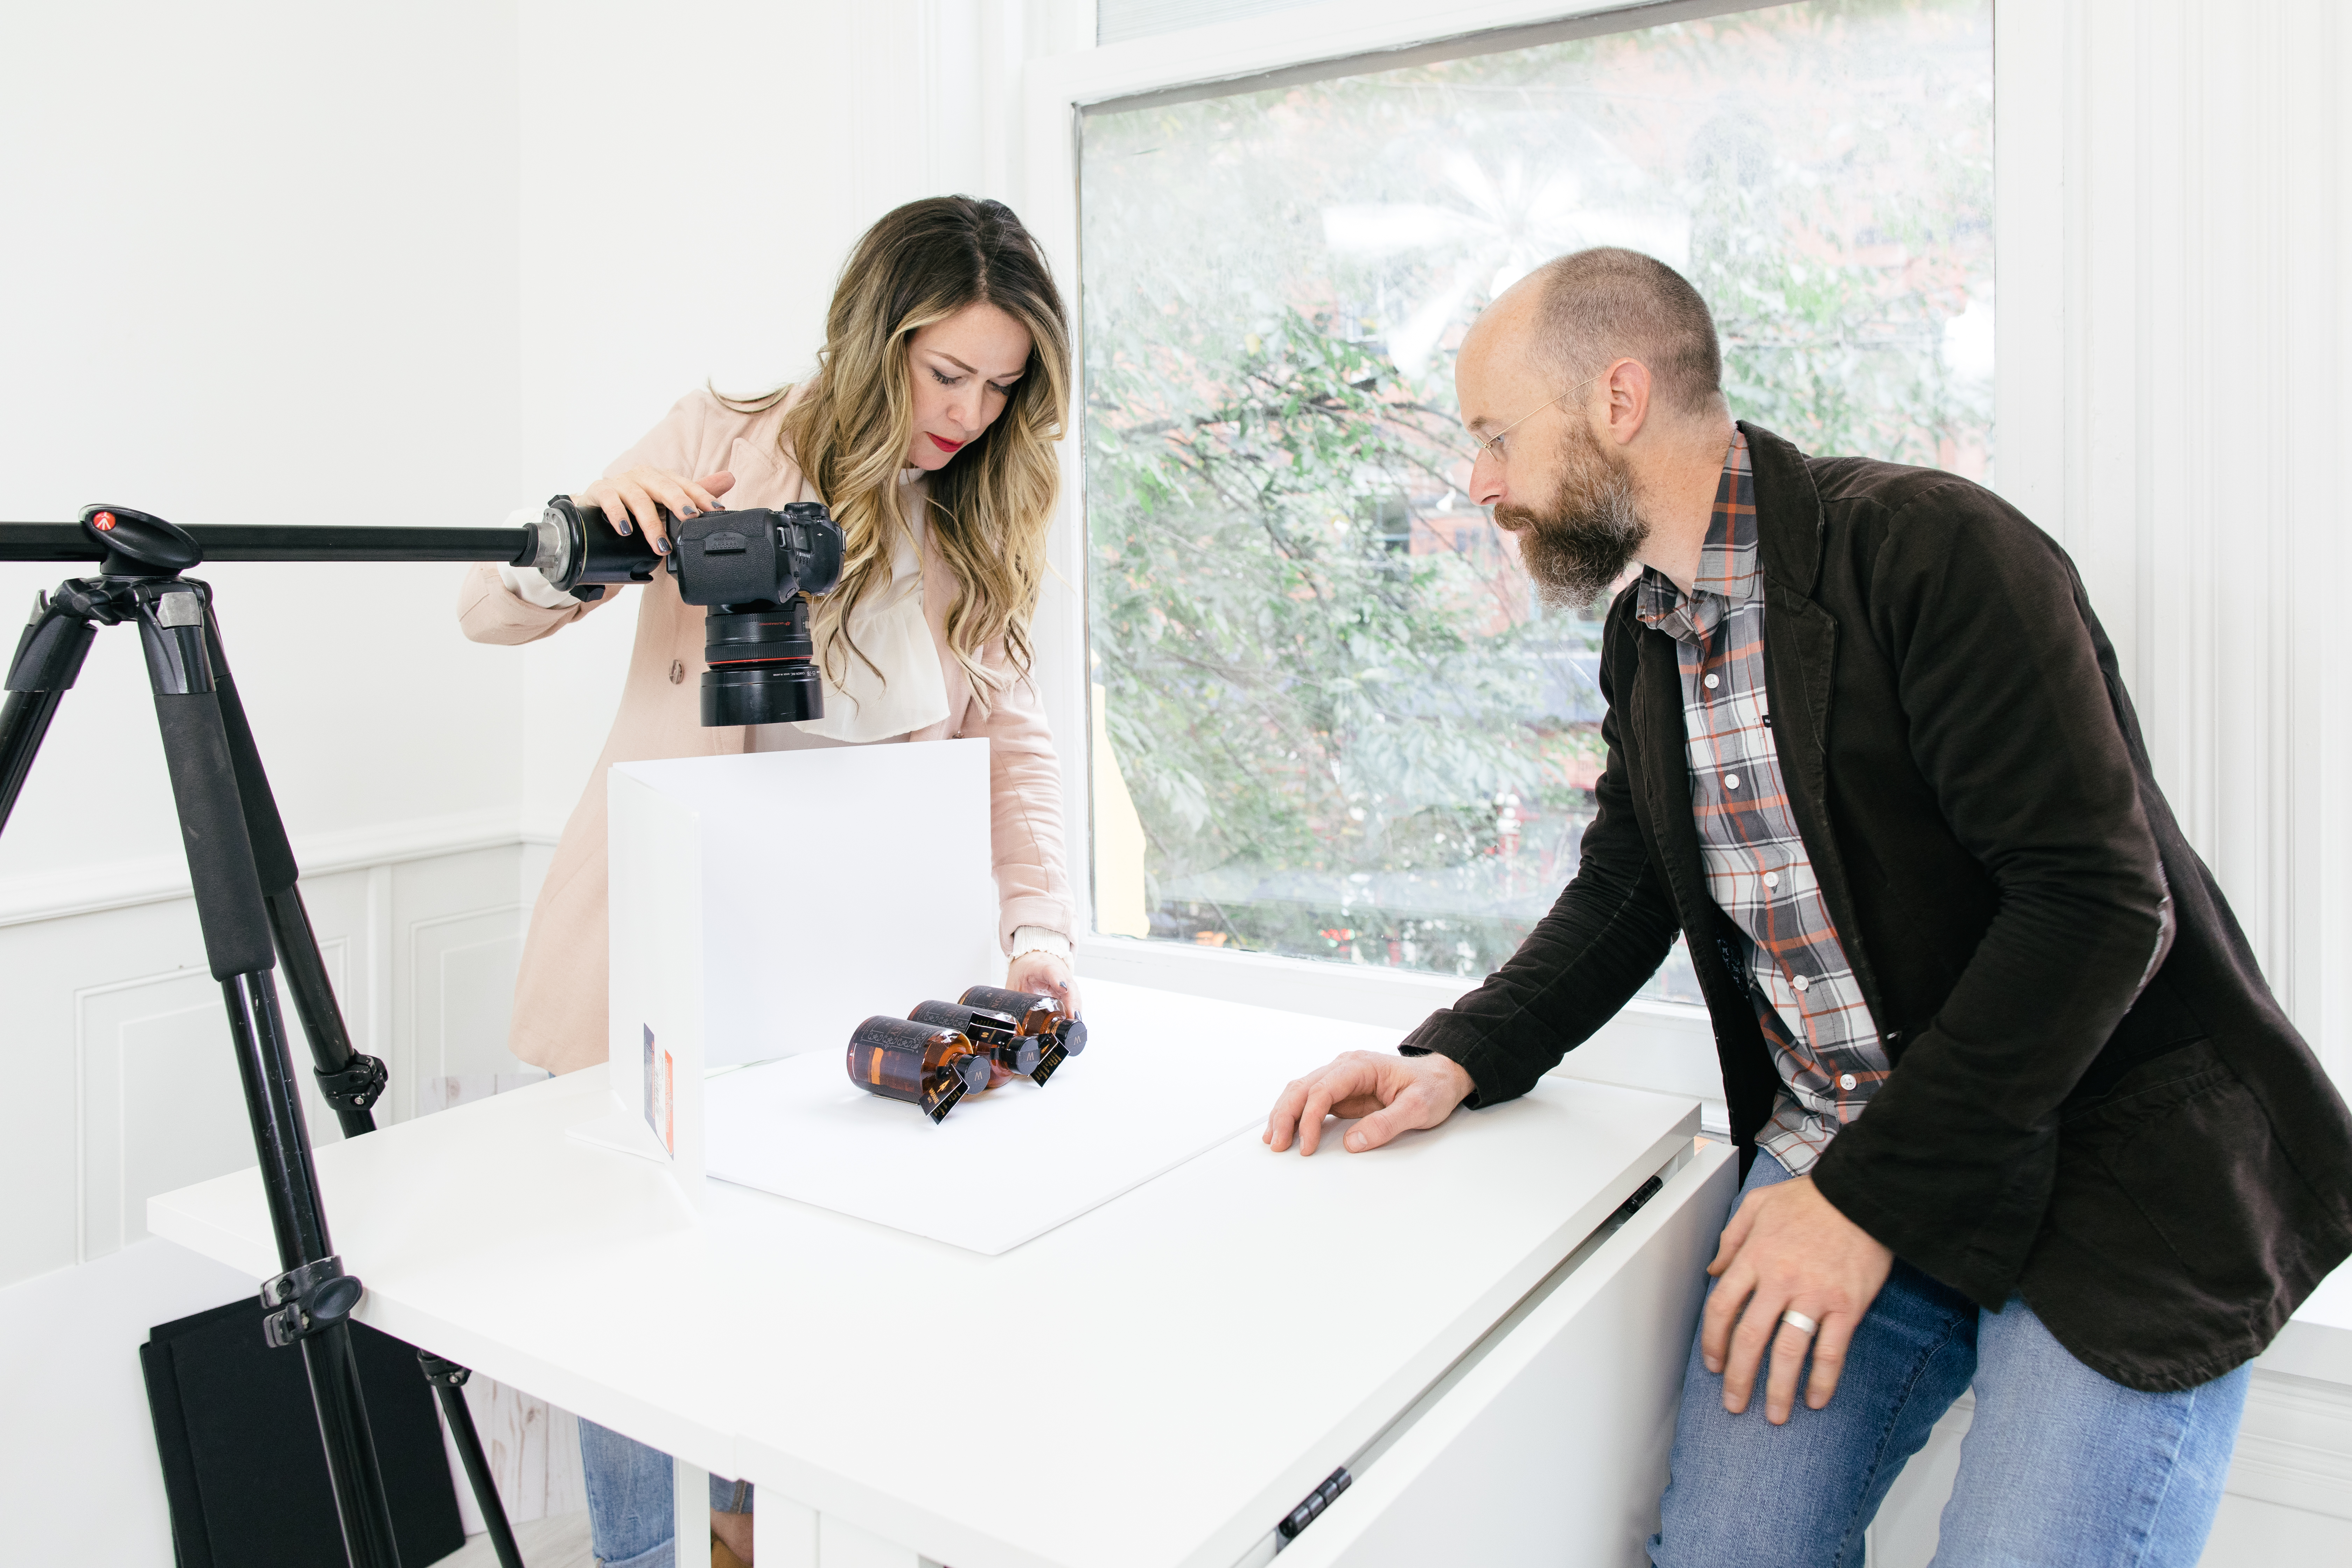
Lighting makes or breaks your images. But you don’t need a $2,000 studio setup. Here’s what works:
Option 1: Natural Light Setup (Free)
- North-facing window (consistent, indirect light)
- White foam board reflector ($10 at any craft store)
- Shoot between 10am-2pm for best light
Option 2: Budget Artificial Light ($60-100)
- 2x LED panels with stands ($60-80 on Amazon)
- 5500K color temperature (matches daylight)
- Minimum 2000 lumens per light
- Diffusion material (white bedsheet works)
Skip the lightboxes. They’re too small for most products and create flat, boring light. Two lights at 45-degree angles create dimension and make products pop.
Backgrounds and Props Worth Buying
Amazon main images require pure white backgrounds. No exceptions. Here’s how to get them cheap:
White seamless paper roll: $25-40 for a 53″ wide roll. Lasts months.
White poster board: $2 each at dollar stores. Perfect for small products.
Backdrop stands: Skip them. Tape paper to the wall. Save $50.
For lifestyle shots:
- Marble contact paper ($15) – instant luxury look
- Wood grain vinyl ($20) – rustic/natural positioning
- Colored poster boards ($10 for variety pack)
- Basic props from dollar store (plants, books, dishes)
Total equipment cost for a complete DIY setup: $150-200. That’s half the cost of one professional shoot.
Setting Up Your DIY Photo Studio (In Any Space)
Converting Any Room Into a Shooting Space
You don’t need a dedicated studio. I’ve shot winning listings in bedrooms, garages, even bathrooms. Here’s how to set up anywhere:
Space requirements: Minimum 6×6 feet. More is better, but not essential.
The setup process:
- Clear the space completely. Every distraction costs you editing time.
- Set up backdrop against the wall. Curve it onto the floor/table to create infinity look.
- Position lights at 45-degree angles to the product, slightly above.
- Place product 2-3 feet from backdrop to avoid shadows.
- Set camera on tripod at product height (not looking down).
For small products, use a folding table. For larger items, shoot on the floor. The principles stay the same.
Lighting Placement for Maximum Impact
Most sellers screw up lighting. They blast the product with direct light, creating harsh shadows and blown-out highlights. Here’s what actually works:
The two-light setup:
- Key light: 45 degrees to the left, slightly above product
- Fill light: 45 degrees to the right, same height or lower
- Key light at 100% power, fill light at 50-70%
This creates dimension. Products look three-dimensional instead of flat. Shoppers can understand shape and texture instantly.
For reflective products (electronics, jewelry), move lights further back and use larger diffusion. For textured products (fabric, food), bring lights closer for more dramatic shadows.
Camera Settings That Work Every Time
Stop overthinking camera settings. Use these and move on:
For smartphones:
- Use “Pro” or manual mode
- ISO: 100-200 (lowest possible)
- Turn off flash permanently
- Use grid lines for composition
- Shoot in highest quality setting
For DSLR/mirrorless:
- Aperture priority mode (A or Av)
- Aperture: f/8-f/11 for sharpness
- ISO: 100-400 max
- White balance: Daylight or 5500K
- Shoot RAW + JPEG
Focus on the most important product detail. For supplements, that’s the label. For electronics, the screen or main feature. Let everything else fall slightly soft if needed.
Shooting Techniques for Each Amazon Image Slot
Main Image Requirements and Tricks
Your main image drives 80% of your clicks. Amazon’s requirements are non-negotiable:
- Pure white background (RGB 255,255,255)
- Product fills 85% of frame
- No text, logos, or graphics
- Minimum 1000px on longest side
- JPEG format only
But here’s what separates average from high-converting main images:
Angle selection: Show the most recognizable view. For bottles, straight on. For electronics, three-quarter angle. Test both if unsure.
Shadow technique: Keep a subtle shadow under the product. Pure floating looks fake. Natural shadow grounds the product and adds depth.
Fill the frame properly: 85% is the minimum. Aim for 90% without cropping important details. Bigger product = more clicks in search results.
Lifestyle and Infographic Shots That Convert
Secondary images sell the benefit, not the product. Stop showing different angles of the same boring product shot. Show the transformation.
Lifestyle images that work:
- Product in actual use (hands for scale)
- Before/after scenarios
- Product solving the core problem
- Size comparison with common objects
Skip the stock photo models. Use your own hands, your own kitchen, your own desk. Authenticity converts better than perfection.
Infographics that drive sales:
- Feature callouts with benefit language
- Size/dimension charts with visual references
- Comparison charts destroying competitors
- Process/instruction graphics
Keep text minimal. Icons and visuals communicate faster than paragraphs. If shoppers need to read more than 5 words to understand, you’ve already lost them.
A+ Content Images on a Budget
A+ Content doesn’t need Hollywood production value. It needs clarity and consistency. Here’s how to create modules that convert without hiring designers:
Use templates: Canva Pro ($12/month) has hundreds of A+ Content templates. Modify colors to match your brand. Done.
Consistent styling: Pick 2-3 fonts max. Stick to your brand colors. Use the same filter/editing style on all images.
Module types that work:
- Comparison charts (your product vs “others”)
- Feature deep-dives with close-up shots
- Step-by-step usage guides
- Brand story with founder image (builds trust)
Batch shoot everything in one session. Changing setups wastes time and creates inconsistency. Plan all shots, shoot in order, edit in batches.
Post-Processing Without Expensive Software
Free Tools That Get the Job Done
Photoshop costs $20/month. You don’t need it. These free tools handle everything for product photography on a budget:
GIMP (Free Photoshop alternative):
- Background removal
- Color correction
- Crop and resize
- Shadow/highlight adjustment
Canva (Free tier works fine):
- Infographic creation
- Text overlay
- Template-based designs
- Batch resizing
Remove.bg (5 free images/month):
- Instant background removal
- Better than manual selection for complex edges
- Export as PNG with transparency
Background Removal Hacks
Pure white backgrounds are mandatory for main images. But getting perfect cutouts takes forever if you do it wrong. Here’s the fast way:
Shoot it right: Proper lighting eliminates 90% of editing. White background + good separation = easy removal.
Use online tools first: Remove.bg or Canva’s background remover for simple products. Takes 30 seconds.
Manual touchup: For complex edges (hair, fabric), use GIMP’s selection tools. Zoom to 200%, take your time on edges. Better to spend 5 extra minutes than have jagged cutouts.
The shadow trick: After removing background, add subtle drop shadow in GIMP. Makes product look natural on white without violating Amazon rules.
Color Correction and Optimization
Your product colors must match reality. Returns kill profits, and wrong colors drive returns. Here’s how to nail color accuracy:
Use a gray card: $10 on Amazon. Place in first shot, use for white balance reference. Every image matches perfectly.
Basic adjustments in order:
- White balance (match to gray card shot)
- Exposure (bright but not blown out)
- Contrast (just enough to pop)
- Saturation (match reality, don’t oversaturate)
Export settings for Amazon:
- JPEG quality: 85-90% (smaller files, no visible loss)
- sRGB color space (not Adobe RGB)
- 2000px on longest side (sharp on all devices)
- Under 10MB file size
Cost Breakdown: DIY vs Professional Photography

Real Numbers From Real Sellers
Let’s break down actual costs from sellers I’ve worked with:
| Service | Professional Cost | DIY Cost | DIY Time Investment |
|---|---|---|---|
| 7 listing images | $400-800 | $0-20 (props) | 4-6 hours |
| A+ Content (5 modules) | $500-1000 | $12 (Canva month) | 3-4 hours |
| Variation shoots (per variant) | $100-200 | $0 | 30 minutes |
| Reshoots/updates | $200+ | $0 | 1-2 hours |
For 5 SKUs with A+ Content, you’re looking at $3,500-5,000 professional vs $200 DIY (equipment) + 40 hours time. If your time is worth less than $125/hour, DIY wins.
When Your Time Is Worth More Than Money
Some sellers should never DIY. If you’re doing $500k+ per month, focus on what moves the needle. Your time optimizing PPC or negotiating with suppliers returns more than saving on photography.
But most sellers aren’t there yet. If you’re under $50k/month, every dollar matters. Product photography on a budget isn’t just smart — it’s survival.
The skill compounds too. First shoot takes 8 hours. By your fifth product, you’re done in 2. You know your angles, your lighting, your editing workflow. It becomes automatic.
ROI Calculator for Photography Investment
Here’s the math on when professional photography pays off:
Break-even formula: Photography Cost ÷ (Additional Profit per Month) = Months to ROI
Example: $800 professional shoot. Images increase conversion rate from 10% to 12%. Product does 1,000 sessions/month at $30 AOV.
- Old revenue: 1,000 × 0.10 × $30 = $3,000
- New revenue: 1,000 × 0.12 × $30 = $3,600
- Additional profit (30% margin): $600 × 0.30 = $180/month
- ROI timeline: $800 ÷ $180 = 4.4 months
If your product lifecycle is under 6 months, DIY makes more sense. If you’re building a long-term brand, professional photos become an investment, not an expense.
Common Mistakes That Tank Your Budget Photos
Lighting Disasters to Avoid
Bad lighting ruins more DIY shoots than anything else. Here are the mistakes killing your images:
Using on-camera flash: Creates harsh shadows, red-eye on models, and flat products. Turn it off permanently.
Mixing light temperatures: Tungsten room lights + daylight = orange/blue color disaster. Pick one light source.
Shooting in direct sunlight: Harsh shadows, squinting models, blown highlights. Use indirect light always.
Ignoring reflections: Check every surface. Your camera, your face, your room shouldn’t appear in product reflections.
Composition Errors That Scream Amateur
Even with perfect lighting, bad composition kills conversions:
Tilted horizons: Use your camera’s grid. Straight lines must be straight. Period.
Cluttered backgrounds: Every element should add value. Random props distract from the product.
Wrong angles: Show the most informative view first. Labels readable, features visible, purpose obvious.
Inconsistent series: All listing images should feel cohesive. Same lighting style, same editing, same quality.
Post-Processing Pitfalls
Editing can save bad photos or completely destroy good ones:
Over-sharpening: Creates halos around edges. Looks crispy and fake. Use subtle amounts.
Oversaturation: Products look radioactive. Match reality or face returns.
Bad cutouts: Jagged edges, leftover background bits. Zoom in and check every edge.
Compression artifacts: Saving at too low quality creates blocky images. Stay above 85% JPEG quality.
Sources & References
Related Reading
- Flat Lay Product Photography for Ecommerce: A Complete Setup Guide…
- Product Photography Lighting for Amazon: Step-by-Step Setup Guide…
- Amazon Product Photography Pricing Breakdown: What Actually Drives…
Related Reading
Frequently Asked Questions
What’s the minimum budget I need to start DIY product photography?
You can start with $0 if you have a smartphone and natural light. For a basic but complete setup, budget $150-200 for tripod, lights, and backgrounds. This investment pays for itself after avoiding just one professional shoot.
How long does it take to learn product photography basics?
Your first shoot will take 6-8 hours including setup, shooting, and editing. By your third product, you’ll cut that time in half. Most sellers become proficient within 5-10 products, roughly 20-30 hours of practice total.
Should I shoot RAW or JPEG for Amazon listings?
Shoot RAW if your camera supports it, but export as JPEG for Amazon. RAW gives more editing flexibility for fixing exposure and color. Amazon requires JPEG uploads, so convert during export at 85-90% quality.
What’s the biggest mistake in DIY product photography?
Ignoring lighting quality. Bad lighting ruins everything else. Spend 80% of your effort getting lighting right, and editing becomes minimal. Two basic LED panels beat expensive cameras with poor lighting every time.
When should I finally hire a professional photographer?
Hire a pro when your hero product consistently does $50k+ monthly revenue and you’ve maxed out DIY quality. Amazon’s image requirements get stricter for top sellers, and professional polish becomes necessary for premium positioning.
Leave a Reply