
Your product images convert browsers into buyers. Period. Yet most Amazon sellers blow their entire launch budget on inventory and PPC, then wonder why their 12% ACoS campaigns aren’t profitable. Here’s the math: if your main image CTR is 0.8% instead of 2.4%, you’re paying 3x more per click. That’s money straight down the drain because you cheaped out on photography.
For more on this, see our product photography budget guide. For more on this, see our shoot cosmetics product guide. For more on this, see our product photography lighting guide.
Last reviewed:
A professional DIY Amazon product photography setup costs less than $500 and pays for itself after shooting just two product lines. Compare that to burning $2,000 monthly on PPC for a listing with garbage images that convert at 8% instead of 15%. This guide shows you exactly what equipment to buy, how to set it up, and the shot list that actually moves product.
The Real Cost of Bad Product Images (With Actual Math)
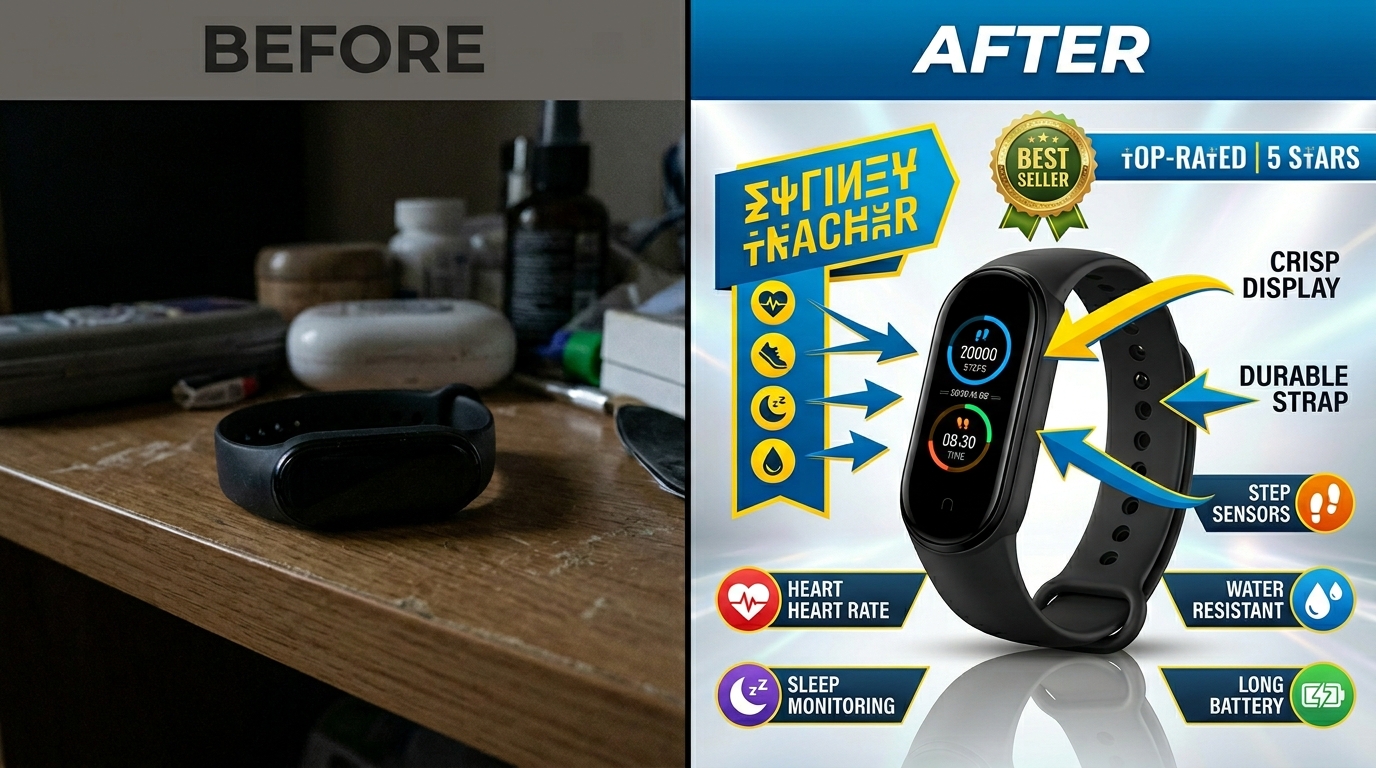
Conversion Rate Impact
Let’s talk numbers. Baymard Institute’s research on cart abandonment shows that 22% of shoppers abandon because they can’t see enough product detail. On Amazon, that number climbs higher because buyers can’t physically touch your product.
Average Amazon conversion rates sit around 10-15% for established listings. But here’s what happens with subpar images:
- Blurry or dark main image: CTR drops from 2.5% to 0.8%
- No lifestyle shots: Conversion drops 3-5 percentage points
- Missing detail shots: Return rate increases 15-20%
- Poor white balance: Product appears “cheap,” pricing power drops 10-15%
On 1,000 daily impressions at $50 average order value, that’s the difference between $1,250 and $400 in daily revenue. Over a month, you’re leaving $25,500 on the table.
PPC Cost Multiplication
Bad images don’t just hurt organic rankings. They destroy your PPC efficiency. When your main image CTR is 0.8% instead of 2.4%, you need 3x more impressions to get the same clicks. At a $1.20 average CPC, that means:
- Good images: 100 clicks = $120 spend
- Bad images: 100 clicks = $360 spend (because you needed 3x more impressions)
Your ACoS just tripled. Not because your keywords suck. Not because your bids are wrong. Because your images can’t compete in the SERP.
The False Economy of iPhone Photography
“But my iPhone 15 Pro has a great camera.” Stop. Your iPhone is fine for Instagram stories. It’s not fine for e-commerce. Here’s why:
- No manual exposure control means inconsistent lighting across your catalog
- Wide-angle lens distorts product proportions
- Limited depth of field control makes focus stacking impossible
- JPEG compression artifacts visible at Amazon’s zoom levels
- No tethered shooting means hours of file transfers
Professional gear isn’t about pixel count. It’s about consistency, control, and efficiency. When you’re shooting 50 SKUs, those iPhone “conveniences” become massive time sucks.
Essential Equipment List for DIY Amazon Product Photography Setup
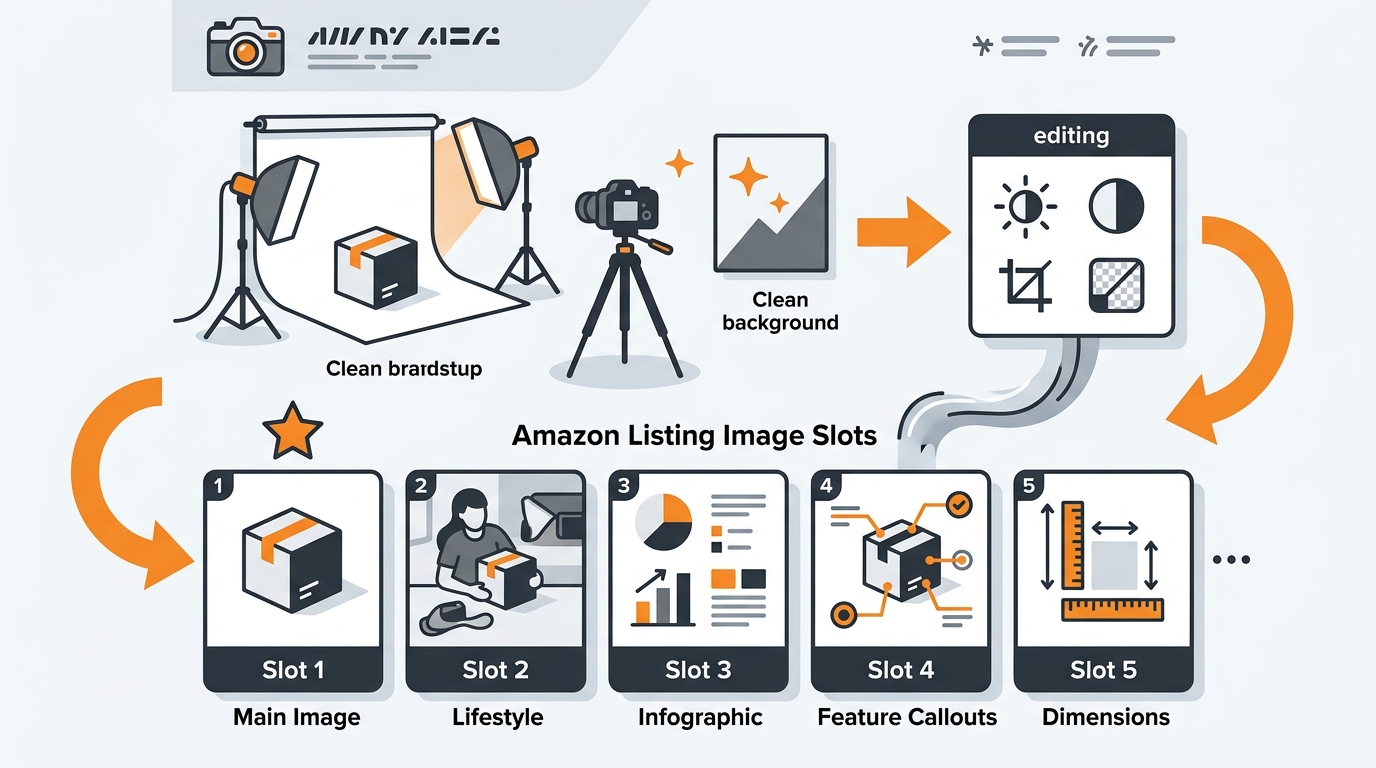
Camera and Lens ($250-300 Used)
Skip the latest mirrorless hype. A used DSLR from 2015 shoots better product photos than any smartphone. Here’s your shopping list:
Camera Body Options:
- Canon T6i/T7i: $200-250 used with kit lens
- Nikon D3400/D3500: $180-230 used with kit lens
- Sony a6000: $250-300 used (body only)
These cameras share critical features: manual mode, RAW files, and tethering capability. The 24-megapixel sensors provide plenty of resolution for Amazon’s 1600px minimum requirement with room to crop.
Lens Requirements:
- 50mm f/1.8 prime lens: $100-125 used (Canon/Nikon), $150 (Sony)
- Alternative: 35mm f/1.8 for smaller lightboxes
- Avoid: Kit zooms (soft corners, inconsistent sharpness)
Prime lenses beat zooms for product photography. Sharper, less distortion, better color. The 50mm focal length minimizes perspective distortion on most products.
Lighting Equipment ($150-200)
Good lighting separates amateur hour from professional results. You need two light sources minimum:
Continuous LED Panels:
- 2x Neewer 660 LED panels: $120-140 for the pair
- Power: 40W each minimum
- Color temperature: 5600K (daylight balanced)
- CRI: 95+ (color accuracy)
Light Modifiers:
- 2x Light stands: $30-40
- 2x Shoot-through umbrellas (33″): $20
- Alternative: Softbox kit for $60-80
LEDs beat strobes for beginners. What you see is what you get. No guessing about shadows or highlights. The Neewer panels include barn doors for light control and dimming for exposure adjustment.
Backdrop and Support System ($50-100)
Amazon requires pure white backgrounds (RGB 255,255,255) for main images. Your setup needs to deliver that consistently:
Background Options:
- Seamless paper (recommended): $25-40 for 53″ x 12 yards
- Vinyl backdrop: $30-50 (easier to clean, shows creases)
- Acrylic sheets: $40-60 (great for small products)
Support System:
- Background stands: $40-60
- C-stands for versatility: $80-100 each
- DIY option: Curtain rod and brackets ($15)
Start with seamless paper. It’s cheap, photographs pure white, and you can cut off dirty sections. Vinyl lasts longer but requires more post-processing to remove shine and wrinkles.
Setting Up Your Photography Space
Space Requirements and Room Prep
You need 8×10 feet minimum for a functional DIY Amazon product photography setup. Here’s the layout:
- 4 feet for backdrop to product distance
- 3 feet for camera to product distance
- 3 feet on each side for lights
- 2 feet behind camera for movement
Room preparation matters more than gear quality. Control these variables:
Ambient Light Control:
- Block all windows (blackout curtains or cardboard)
- Turn off overhead lights
- Cover any LED indicators on electronics
- Check for light leaks under doors
Mixed lighting destroys color accuracy. Your edited whites look yellow on mobile. Your blacks look brown on desktop. One light source means one white balance adjustment.
Wall and Floor Prep:
- White or neutral gray walls prevent color cast
- Clean, level floor for tripod stability
- Remove reflective surfaces (mirrors, glass frames)
- Control air circulation to prevent backdrop movement
Lighting Placement Fundamentals
Two-point lighting creates dimension while maintaining Amazon’s white background requirement. Here’s the setup:
Key Light (Primary):
- Position: 45 degrees to camera left or right
- Height: 45 degrees above product
- Distance: 3-4 feet from product
- Power: 100% to start
Fill Light (Secondary):
- Position: Opposite side of key light
- Height: Product level or slightly above
- Distance: 4-5 feet from product
- Power: 50-70% of key light
This ratio creates subtle shadows that show product dimension without harsh contrast. Flat lighting makes products look cheap. Too much contrast makes detail disappear.
Camera Settings for Consistency
Manual mode or go home. Auto settings change between shots, creating editing nightmares. Lock these settings:
Base Settings:
- Mode: Manual (M)
- ISO: 100-200 (lowest native ISO)
- Aperture: f/8-f/11 (sharpest range for most lenses)
- Shutter Speed: 1/60 or slower (with tripod)
- White Balance: Custom or 5600K
Focus Settings:
- Single point autofocus
- Back button focus (separates focus from shutter)
- Single shot mode (not continuous)
- Turn off image stabilization (on tripod)
Shoot RAW + JPEG. RAW files give you exposure latitude in post. JPEG gives you quick previews to check focus and composition.
Shooting Your First Product Set
Main Image Requirements and Execution
Your main image drives 70% of your CTR. Amazon’s technical requirements are just the starting point:
Amazon’s Rules:
- Pure white background (RGB 255,255,255)
- Product fills 85% of frame
- No props, text, or graphics
- 1600px on longest side minimum
- JPEG format, sRGB color space
Beyond Compliance – What Actually Converts:
- Shoot multiple angles, test which performs
- Front-facing angle for most categories
- Slight elevation (15-20 degrees) shows dimension
- Leave 5% padding for mobile crop
Set your product on a white sweep, not directly on backdrop paper. This creates natural shadow falloff that’s easier to edit. Use a piece of white foam board as your surface.
Lifestyle and Scale Shots
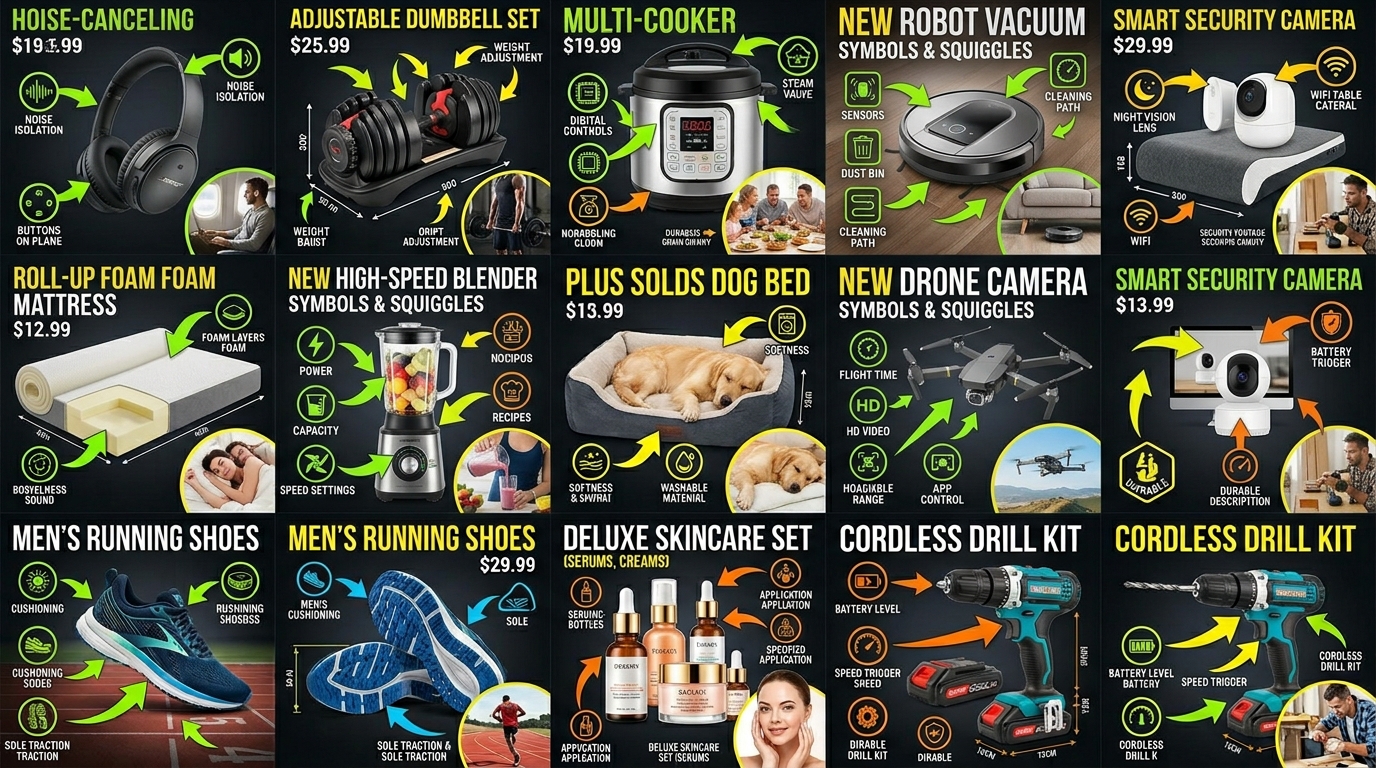
Slots 2-7 sell the experience. Stop thinking features, start thinking customer problems. Here’s what actually works:
Scale References That Matter:
- Hand-in-shot for anything handheld
- Common objects for size (smartphone, credit card, dollar bill)
- Installation context for home goods
- Body parts for wearables (wrist, neck, waist)
Props cost nothing but multiply conversion impact. A $5 fake plant makes your garden tool relatable. A $10 cutting board contextualizes your kitchen gadget.
Lifestyle Shooting Tips:
- Maintain 16:9 aspect ratio for mobile optimization
- Keep backgrounds simple but contextual
- Natural light works for lifestyle (window light)
- Shoot horizontal and vertical versions
Detail Shots That Drive Conversion
Detail shots answer the questions that kill sales. What’s the texture? How’s the build quality? What’s included? Your DIY Amazon product photography setup needs macro capability:
Macro Techniques Without Macro Lens:
- Extension tubes: $30-50 for your existing lens
- Reverse lens mounting: $15 adapter
- Close-up filters: $20-30 set
- Crop in post: Shoot wider, crop to detail
Focus on these detail priorities:
- Material texture and quality
- Connection points and mechanisms
- Included accessories laid out
- Size markings and specifications
- Unique features your competition lacks
Post-Processing Workflow for Amazon Standards
Background Removal and White Point
Amazon’s white background requirement isn’t negotiable. Your images get suppressed for off-white backgrounds. Here’s the fastest workflow:
Software Options:
- Photoshop: Industry standard, $10/month Photography plan
- Affinity Photo: One-time $70 purchase
- GIMP: Free but slower workflow
- Canva: Quick but limited control
Background Removal Steps:
- Quick Selection tool for rough selection
- Refine Edge for hair/fur/fabric
- Layer mask, not delete (non-destructive)
- New white layer underneath
- Check RGB values: must read 255,255,255
Save your selection paths. When you shoot product variations, you can reuse the same cutout path. That 5-minute investment saves hours on multi-SKU shoots.
Color Correction for Accuracy
Returns kill profitability. Color accuracy prevents “not as described” complaints. Nielsen Norman Group’s research on color perception shows users trust accurate color representation 3x more than enhanced images.
Color Correction Workflow:
- Shoot color card in first frame
- Create custom white balance preset
- Apply to all images in batch
- Fine-tune saturation: -5 to -10 points (monitors oversaturate)
- Check on multiple devices before uploading
Common Color Mistakes:
- Over-warming (everything looks orange)
- Over-cooling (everything looks clinical)
- Crushing blacks (lost shadow detail)
- Blowing highlights (lost texture)
Batch Processing for Multi-SKU Efficiency
Shooting 50 SKUs means editing 350+ images. Without batch processing, you’re looking at 20 hours of mind-numbing work. Here’s how to cut that to 2 hours:
Lightroom Batch Workflow:
- Import all RAW files
- Edit one hero image perfectly
- Copy settings to similar products
- Export with naming template: ASIN_SLOT_DATE
Photoshop Actions for Amazon:
- Record your background removal process
- Create action for resize to 1600px
- Batch apply to entire folder
- Quality check 10% sample
File naming matters for organization. Use this structure: PRODUCTSKU_SHOT#_VERSION.jpg. When Amazon flags an image, you can find and replace it in seconds, not hours.
Advanced Techniques for Higher Conversion
Focus Stacking for Tack-Sharp Images
Small products need focus stacking. At macro distances, your depth of field might be 2mm. That means either the front or back of your product is soft. Soft equals amateur. Here’s the fix:
Focus Stacking Process:
- Lock camera on tripod (critical – zero movement)
- Set aperture to f/8 for sharpness
- Take 5-10 shots, moving focus point each time
- Overlap focus areas by 30%
- Merge in Photoshop: File > Automate > Photomerge
This technique changes jewelry, electronics, and supplement photography. Every detail stays sharp from front to back. Your competition’s photos look soft by comparison.
360-Degree Spin Photography
Amazon’s 360-degree view feature boosts conversion 15-30% according to their internal data. But most sellers skip it because they think it requires expensive equipment. Wrong. Here’s the DIY Amazon product photography setup approach:
DIY Turntable Setup:
- Lazy Susan from hardware store: $15
- Degree markings with tape: Free
- 24 shots at 15-degree intervals
- Consistent lighting is critical
- Remote shutter to prevent camera shake
Processing 360 Spins:
- Batch process all 24 images identically
- Use Amazon’s spin tool or third-party service
- File size limits: 10MB per frame
- Name files sequentially: spin_01.jpg through spin_24.jpg
Infographic Integration Without Suppression
Amazon hates text on main images but loves it in secondary slots. The key? Make it look editorial, not promotional. Here’s what passes review:
Acceptable Infographic Elements:
- Size charts with visual references
- Assembly diagrams
- What’s in the box layouts
- Comparison charts (without competitor mentions)
- Technical specifications
Design Rules That Keep You Safe:
- No promotional language (“Best,” “#1,” “Sale”)
- Minimal text – let images tell story
- Consistent font (Amazon Ember or similar)
- High contrast for mobile readability
- Test on 5.5″ screen at arm’s length
Scaling Your DIY Operation
Multi-Product Efficiency Systems
Once your setup is dialed, you can shoot 20-30 products per day. But only if you systemize. Random shooting means random results. Build these systems:
Pre-Shoot Checklist:
- All products cleaned and prepped
- Props organized by product type
- Shot list printed for each SKU
- Battery charged, cards formatted
- Naming convention documented
Shooting Assembly Line:
- Group similar products
- Shoot all main images first
- Change setup once for lifestyle
- Detail shots last (different lighting)
- Transfer files between product groups
Track your time per product. Most sellers spend 2 hours per SKU starting out. With systems, that drops to 20-30 minutes including editing.
When to Upgrade Equipment
Your DIY Amazon product photography setup scales to about 100 SKUs before equipment limits efficiency. Watch for these upgrade triggers:
Signs You Need Better Gear:
- Editing takes longer than shooting
- Inconsistent color between batches
- Focus hunting slows workflow
- File transfers eating hours
- Background removal taking 10+ minutes per image
Smart Upgrade Path:
- Tethering cable: Instant preview, no transfers ($30)
- Better lens before better body ($200-400)
- Third LED for background ($70)
- Motorized turntable for 360s ($200)
- Full-frame body last ($1000+)
Building a Sustainable Workflow
Burnout kills more photography operations than bad equipment. When you’re shooting your 500th white background product shot, motivation disappears. Build sustainability:
Workflow Optimization:
- Shoot Monday/Tuesday, edit Wednesday/Thursday
- Batch similar products to maintain setup
- Outsource background removal after 50 SKUs
- Create templates for common product types
- Track metrics: shots per hour, edits per hour
Quality Control Systems:
- Calibrate monitor monthly
- Check images on phone before uploading
- A/B test main images quarterly
- Monitor customer questions about product details
- Track return reasons related to “not as described”
Your images are assets that compound. Every improvement to your system makes all future shoots better. That supplement brand crushing you on Amazon? They spent six months perfecting their photography system. Now they can launch new SKUs with pro images in 48 hours while you’re still debating ring light purchases.
Sources & References
Related Reading
- Flat Lay Product Photography for Ecommerce: A Complete Setup Guide…
- Amazon Product Photography Equipment List: What You Actually Need…
- Amazon Product Photography Pricing Breakdown: What Actually Drives…
Related Reading
Related Reading
Related Reading
Related Reading
Related Reading
Related Reading
Related Reading
Related Reading
Frequently Asked Questions
What’s the absolute minimum budget for a DIY Amazon product photography setup?
You can start with $300 if you buy used. Get a used Canon T6i with kit lens ($200), two LED work lights from Home Depot ($60), white poster board ($10), and a tripod ($30). It’s not ideal, but it beats iPhone photos. Upgrade as revenue grows – better images pay for better equipment within 60 days.
Should I shoot RAW or JPEG for Amazon product photos?
Always shoot RAW+JPEG. RAW files give you exposure latitude to fix lighting mistakes and color accuracy for matching product variations. JPEGs let you quickly check focus and send samples to your VA. Storage is cheap – your conversion rate isn’t. The extra 20MB per shot saves hours in editing when you need to adjust white balance across 50 SKUs.
How many images should I upload per product listing?
Use all 7 slots if you’re charging premium prices. Minimum 5 images for any product over $25. Main image, scale shot, lifestyle shot, detail/texture shot, and what’s-in-box shot. Each image should answer a specific customer objection. Track your competition – if they’re using 7 images and ranking above you, that’s your answer.
Can I reuse the same lifestyle shots across multiple ASINs?
Amazon allows it but customers notice. Reuse background scenes but swap the product. Same kitchen counter, different gadget. Same desk setup, different accessory. This cuts lifestyle shooting time by 70% while maintaining unique feel. Just ensure your main product is clearly different to avoid variation merge issues.
What’s the ROI timeline for investing in photography equipment versus hiring a service?
Do the math: Professional photography runs $400-600 per SKU for 7 images. A $500 DIY setup pays for itself after one product. If you’re launching 5+ SKUs per year, buy equipment. If you’re selling one hero SKU, hire a pro for the first shoot, then build your own setup for variations. The real ROI comes from being able to test new main images weekly without bleeding cash.